Social Icons
The Social Icons block is a simple block that allows you to add various social media icons to your post or page with links to your profiles. By doing that, you increase the visibility of your social media profiles and drive traffic to them. If you would like to add a social feed try the Social Feed plugin.
Steps to add the block:
The block, with a placeholder, will appear. The placeholder will be there until you add icons to the block.

Detailed instructions on adding blocks can be found on Building a Page.
How to add social icons and the links to your profiles
- Select the Social icons block to reveal its options.
- Click on the plus button to reveal the available social media platforms.
A menu with social media platforms will appear.
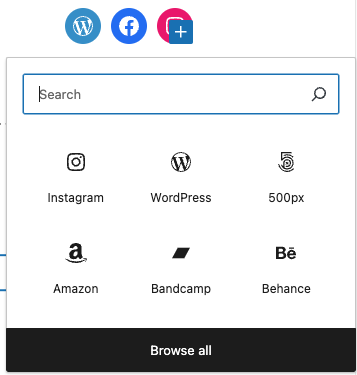
3. If you do not see the platform you need in the menu, type the name of the platform in the search box.
4. Select the icon from the menu to add it to the block.
5. Click on the icon within the block to reveal the address input field.
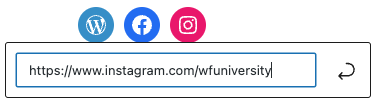
6. Add the relevant URL in the input field and press Enter.
You will need to repeat these steps for each of the social media profiles you want to add.
Block Settings
Toolbar Settings
Above the Social Icon Block you can set the block’s width, alignment and icon size.
Block Options
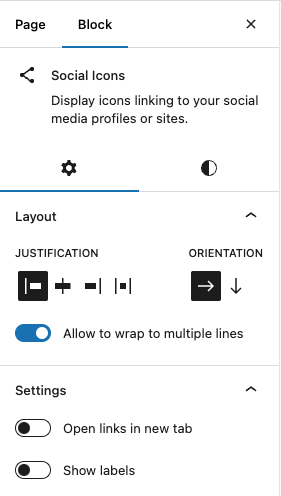
In the Social Icons settings in the right sidebar you can change the layout of the icons and choose if they show labels or open in a new tab.
Block Styles
In the Styles tab of blocks settings in the right sidebar you will be able to set icons styles and colors.
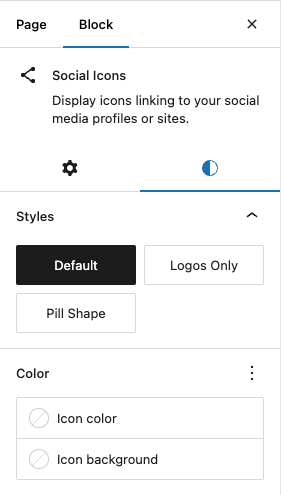
“Default style” with Old Gold background color:
“Logos Only” style with Old Gold color and “Large” size:
“Pill Shape” style with default color:
Block settings for individual icons
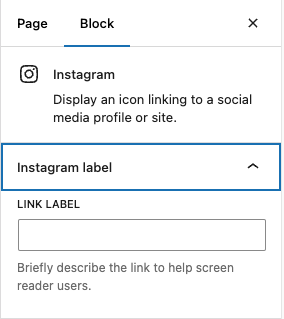
These settings appear in the sidebar, when you click on the individual social icons. In the Social Icon sidebar settings, you can add a Link label. The label helps screen reader users understand the context of the link.