Photo Editing
NOTE: Official Wake Forest photos can be requested using the Wake Forest University Photo Library. To request photos, please follow these instructions.
It is acceptable to use images from sources other than Wake Forest University provided they are properly licensed. This includes paid stock photography, images acquired from professional photographers, or other commercial imagery for which your department has secured usage rights.
Images obtained without explicit permission, such as unlicensed or unauthorized images downloaded from the internet or search results, should not be used.
Other guidance on photography can be found on our Brand Guide.
To help keep our sites fast and easy to use, we’ve placed limits, shown below, on file upload sizes. Large files, like high-resolution images, can slow pages down, especially for visitors on mobile or slower connections. Some images may need to be edited before uploading, either because they are too large or need a specific crop or height.
- Images: 3 MB
- PDFs: 25 MB
- Videos: 10 MB
- All other files: 10 MB
Consider both Dimensions (physical size) and File size (data size).
This page offers instructions for Photoshop, but free tools like TinyJPG can help compress your images. We also auto-generate several smaller sizes for you automatically, found under “Resolution” in Image settings.
Recommended Image Sizes
Full-width images (touching the edges of the screen): 2000px wide
Wide-width images (width of the menu): 1410px wide
Narrow-width images (default width): 916px wide
Staff listing images: 500px x 500px
The theme “crops” your images to a square. If you don’t like the result, it’s helpful to crop your image square before uploading.
All photos need to be 72 ppi and compressed for web; 60% jpeg compression is plenty.
WordPress provides basic image editing tools that allow you to crop images to specific aspect ratios and adjust their dimensions directly within the Image block’s settings.
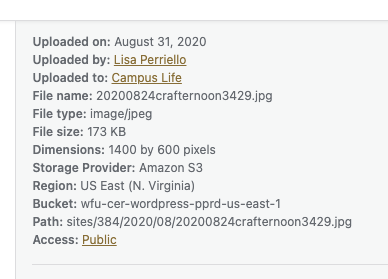
Naming Files
Please make your file name reflect the content, and be sure to include the date. Use dashes or underscores to separate words. This will make finding your files easier down the road. It also helps search engines direct people to the correct files.
- Incorrect: application.pdf
- Correct: wake-forest-camp-application-2024.pdf
- Incorrect: myphoto.jpg or DSC2123.jpg
- Correct: suzy-smith-profile-photo-fall-2024.jpg
Photo Editing Software
Wake Forest does offer Adobe Creative Cloud to students, faculty and staff, and Photoshop is the best Adobe software for editing photos. Wake Forest also offers free LinkedIn Learning if you are interested in learning more than the following basics.
If you are using Photoshop to edit your photos, you’ll begin by opening Photoshop, then going to File > Open in the top bar and finding the desired photo on your computer.
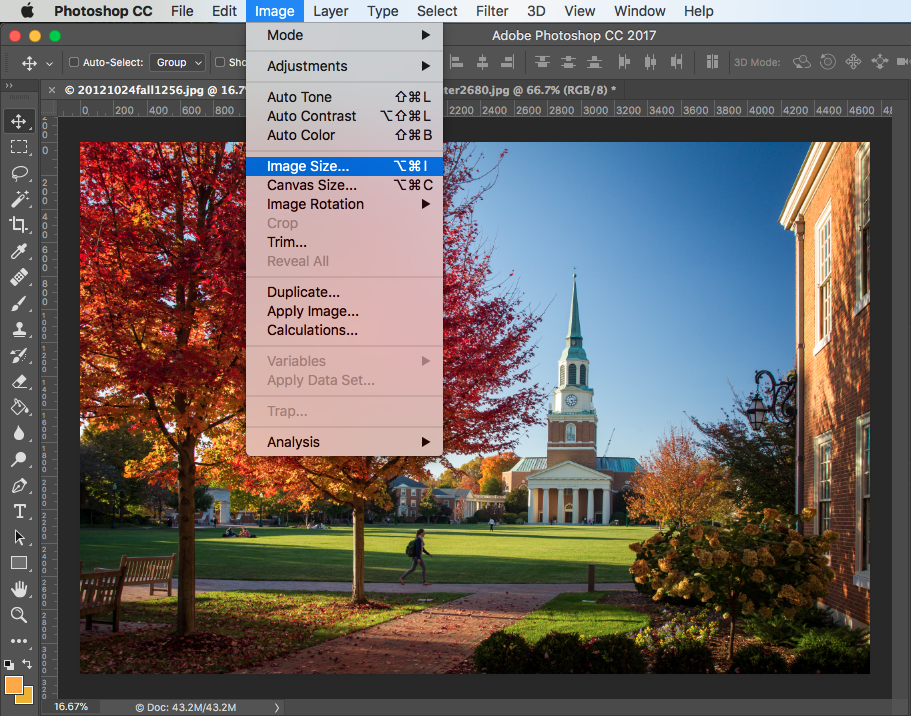
Photoshop Image Size
If you’d like to simply make your photo smaller, the setting you should update is your photo’s image size. You’ll find this under Image > Image Size in the top bar.
The Image Size box will pop up showing you the height, width and resolution of your photo. For web, you’ll need to change your unit of measure to “Pixels” in the dropdown to the left of the height and width (changing one will change them all). You’ll need to ensure that the check box next to Resample is checked. Then, in the Resolution box, you’ll enter “72” for web resolution. Finally, change the width to the desired value from the list above and click OK.
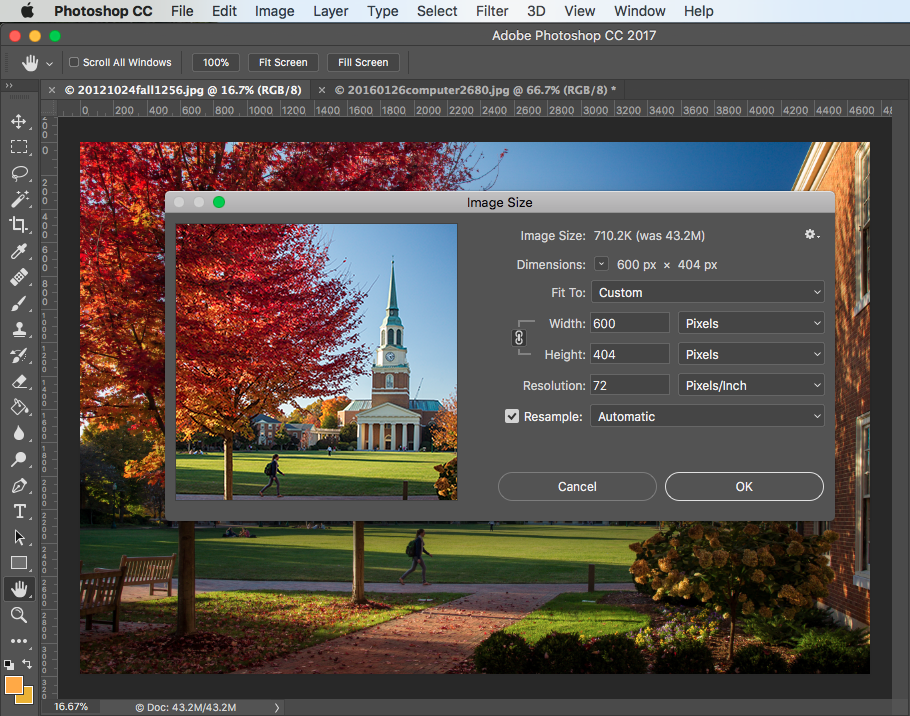
Your photo should scale smaller and be ready to Save for Web below. If your photo became larger, or the Image Size was already much smaller than your desired width at 72 resolution, you may need to choose another larger image. Images that are scaled up will look very pixelated.
Cropping in Photoshop
If you would like to make your photo a specific height and width, or you’d only like to use a portion of the photo, you can choose to Crop your photo. You’ll find the Crop Tool in the left sidebar.
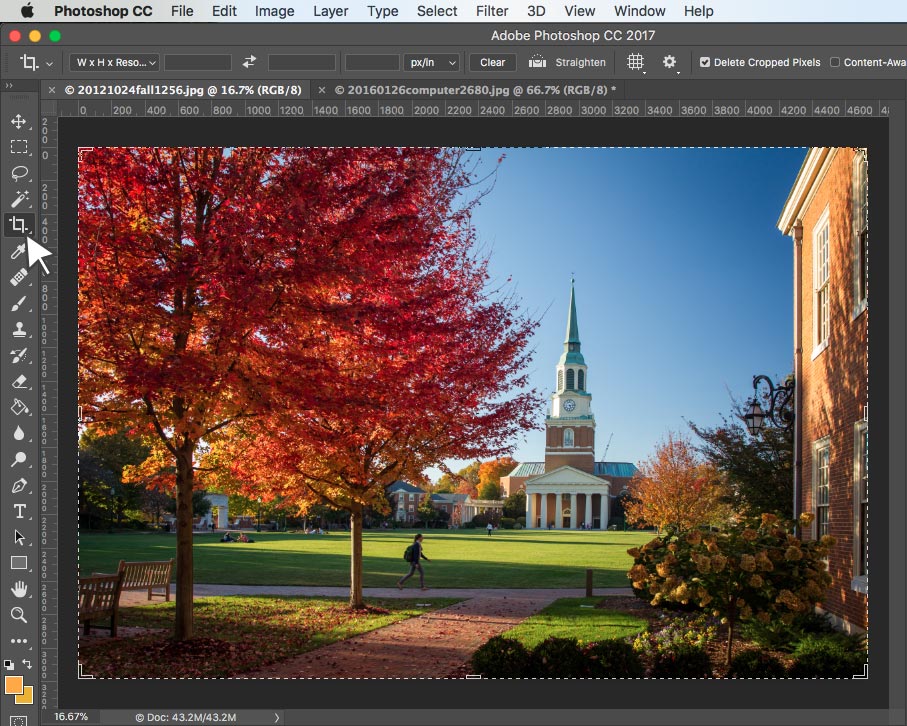
Now you’ll see that there is a dotted line box around the edge of your photo and the top of your work area has now changed to show your cropping options. You can grab the handles in the corners and center of the edges of the dotted lines and move them to your desired crop. When you are done, click the checkmark in the far right of the top of your work area or hit “Enter” on your keyboard.
You can now review your Image Size settings to make your new crop the correct size, then Save for Web below.
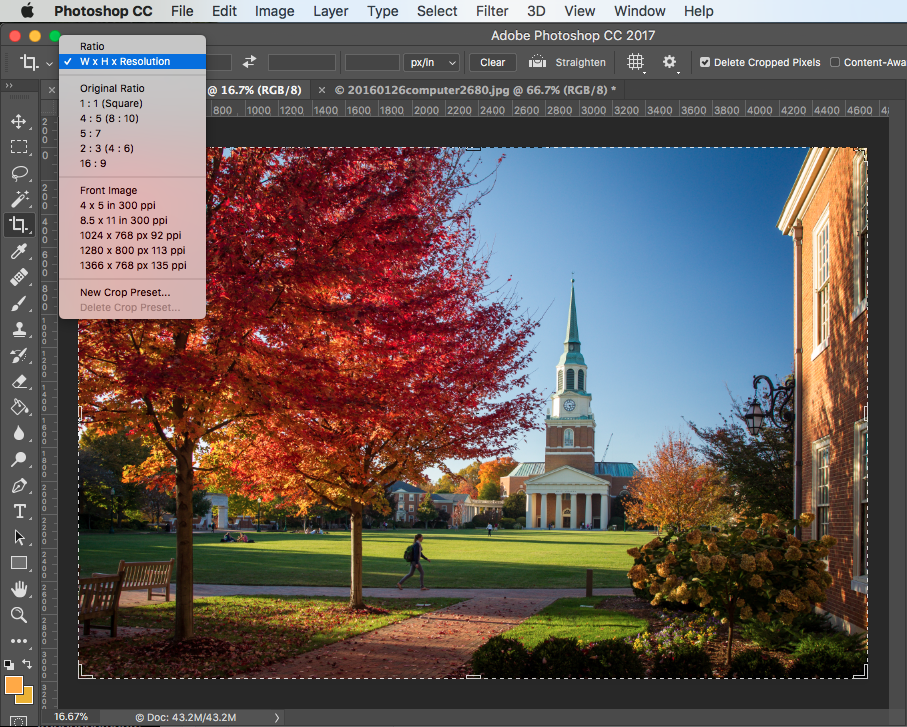
If you’d like for your photo to crop to a specific size, you can use the cropping options in the top of your work area. This is useful if you are editing images to use in the Featured Image or Slider. (View tips for these content types below). After clicking the Crop Tool in the sidebar, you need to click on the first drop-down now showing in the top of your work area. This will reveal all of your controlled cropping options. Choose “W x H x Resolution.”
You’ll now be able to enter your exact dimensions, and the cropping box will scale proportionally. Choose “px/in” in the unit selection drop-down and enter your height and width in pixels and 72 in the third box for your resolution. The “Clear” button will reset these values when you’d like to change them. Now make any desired changes to the cropping box over the image, then click the checkmark in the far right of the top of your work area or hit “Enter” on your keyboard.
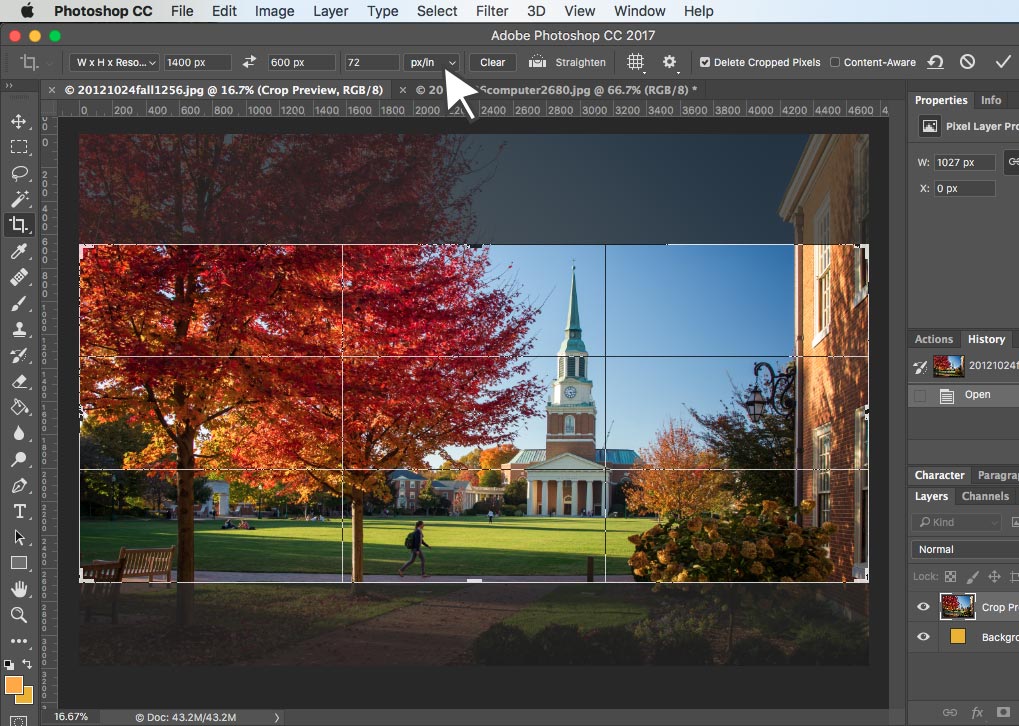
Your photo should scale smaller and be ready to Save for Web below. If your photo became larger, you may need to choose another larger image. Images that are scaled up will look very pixelated.
Cropping Tips for Featured Images
If you are editing an image for the Featured Image or Full-width Slider, there are some special features to consider. Both of these content types have a recommended image size of 2000px wide by 800px tall, but will “crop” to 450px tall on desktop computers. The “cropping” is a feature of the responsive, mobile-friendly nature of this theme, so your 2000px wide desktop image will only be 640px wide on a mobile phone and will reveal more of the height of the image.
Here is an example of a Featured Image image on desktop:
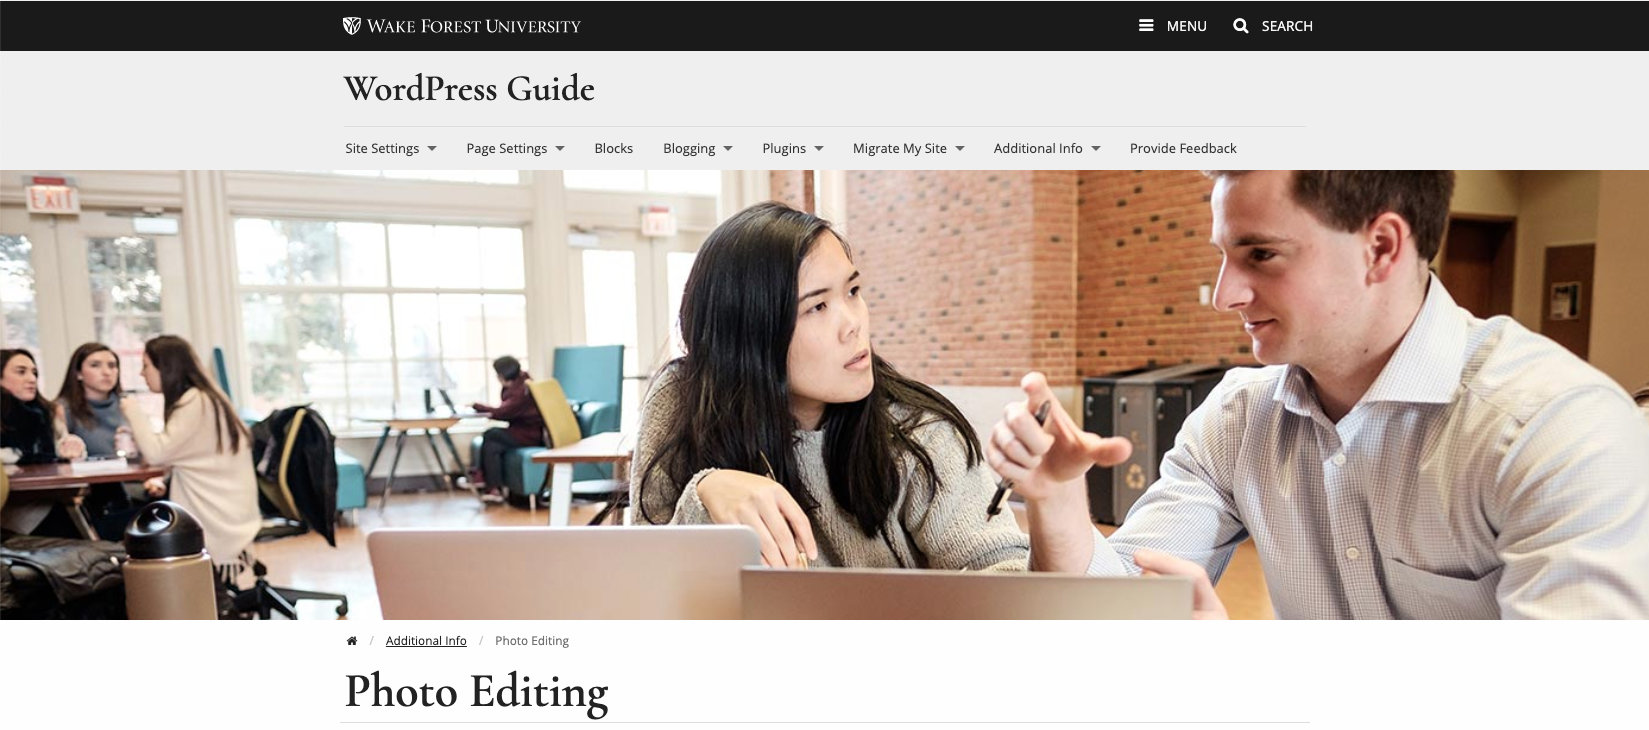
And now you see the same image on mobile. Notice that the logos on the laptops are now visible, but the man is not:

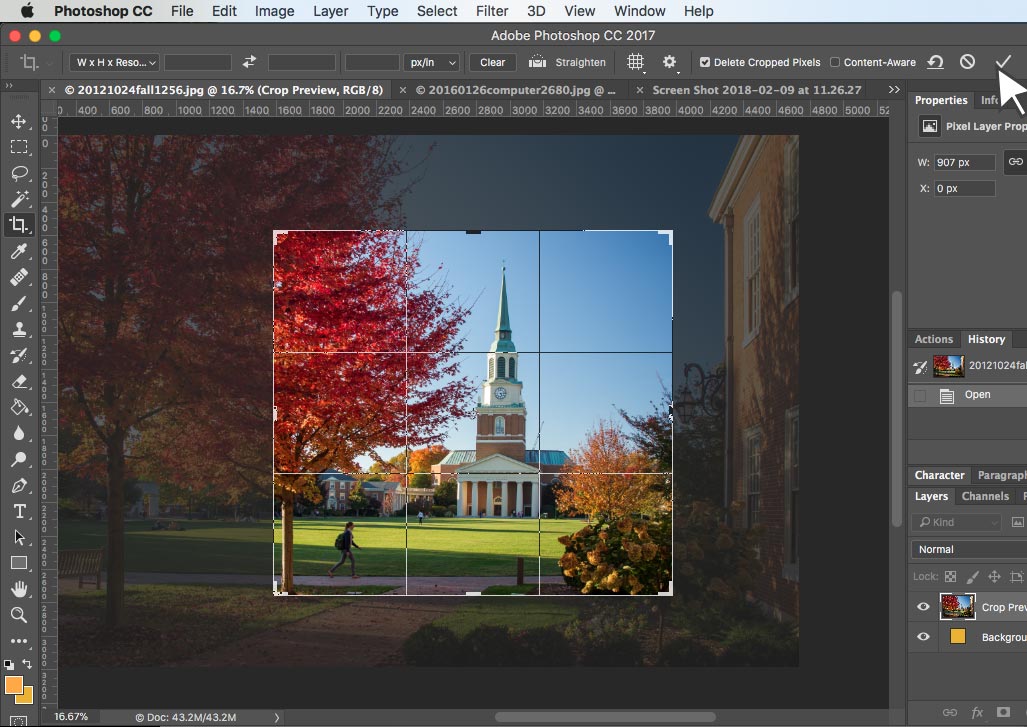
The best way to choose a great crop for this image on all devices is to use the grid that Photoshop provides in its cropping tool. Use the “W x H x Resolution” setting from the example above, enter a width of 2000px wide by 800px tall and a resolution of 72. The crop box will appear over your photo and, when clicked, it will have a grid divided into thirds.
The middle third vertically (highlighted in blue) is a fairly good representation of how your image will look on mobile, so choose a good subject. The middle third horizontally (highlighted in pink) is a “safe” area for very wide desktop monitors. If there are people in your photo, try to move the crop to keep their eyes inside in this part of the grid to avoid their heads being cut out.
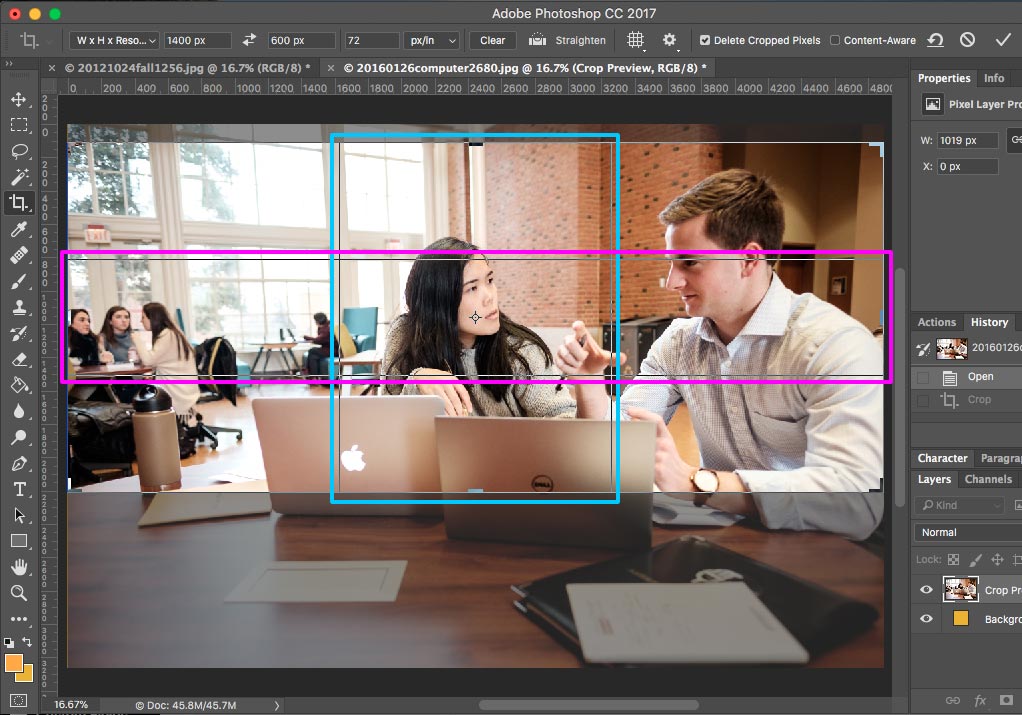
If your image doesn’t work well in this grid, you might want to consider another image. Similarly, if your image has text, then the Featured Image content type might not be your best option.
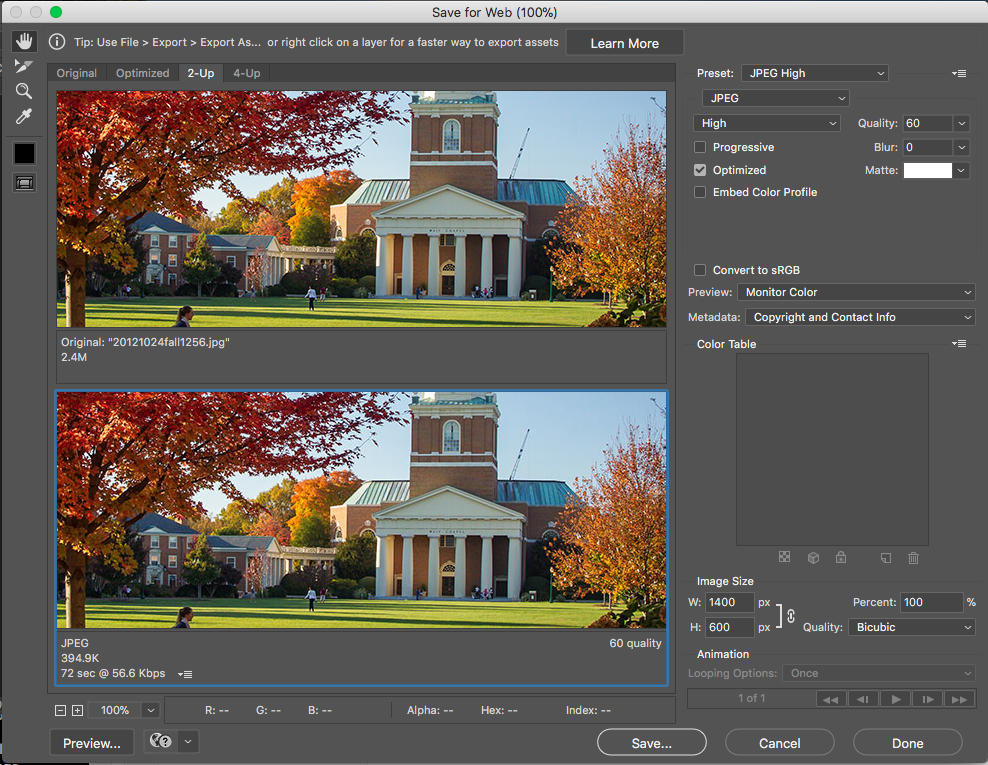
Save for Web
Once your image is edited and ready, then you’ll want to save it with compression so it will be smaller for easy viewing on your website. You’ll find this under File > Export > Save for Web (Legacy) in the top bar.
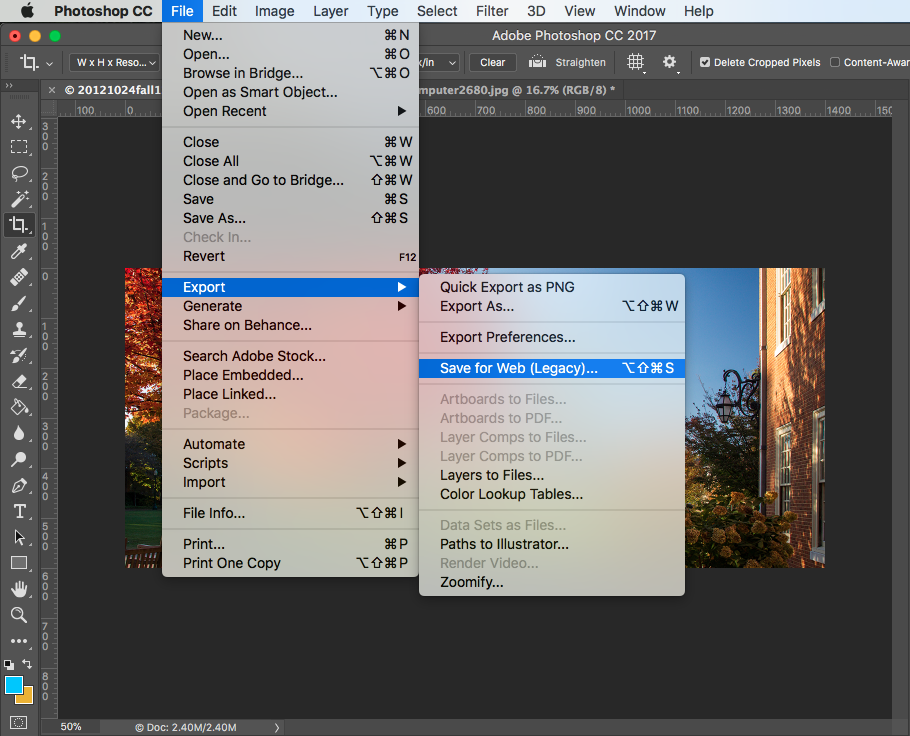
The easiest setting here that will always produce great results (harder compression produces “fuzziness” in your photo) is to choose “JPEG High” from the Preset drop-down on the right menu. In my example here, using the 2-up comparison tab (to gauge your “fuzziness”), you can see that the original image was 2.4MB. It is now going to be saved at 394.9KB, and even can be down to 192.1KB on the “JPEG Medium” setting, if desired.
Click Save… A window will pop up asking where you’d like to save your new image, and then you can upload that image to your WordPress site.