
Announcement Banner
Located under Site Options, the Announcement Banner is a way to display a short message on every page of your website. For example, Facilities could post information about road or parking lot closings. Admissions could use this feature to alert visitors when their office is closed and there are no campus tours.
Tip: Because this banner will appear on every page of your website, it’s a best practice to keep the message short and specific. Using the editor, you can easily add a link to a page with complete details in cases where the message you need to convey is lengthy.
Add an Announcement Banner
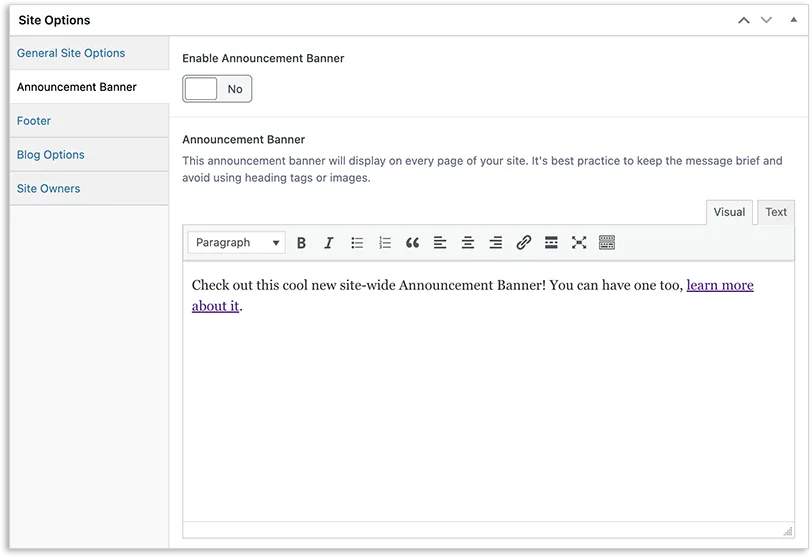
To add an Announcement Banner to your website, navigate to the Site Options portion of the WordPress Dashboard and click the tab labeled Announcement Banner. Type your message into the editor and click Update. When you are ready for the message to appear on your website, slide the Enable Announcement Banner toggle to Yes and click Update.
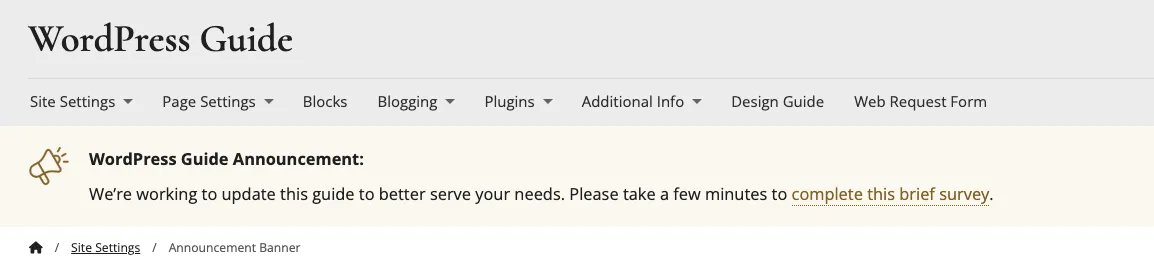
After enabling an Announcement Banner, visit your website to view the message and ensure it is correct. Please note that your site title will automatically appear as part of the announcement. This is done to help indicate to website visitors that the announcement is specific to your site and is not a global announcement.
Remove an Announcement Banner
To remove an Announcement Banner from your website, slide the toggle to No and click Update. There’s no need to delete the message from the editor, especially in cases where you might want to reuse the banner. If at any point you need to change the message that appears in the Announcement Banner, use the editor to change or replace the text and click Update.