
Edit a Form
While your form must be added to a page for users to see it, the fields themselves are edited separately. To make changes go to Forms > Edit Forms in the left WordPress sidebar, then hover over the form name (find the name on the page if you’re unsure), and click Edit.
To manage your forms generally, going to Forms > Edit Forms, is where you’ll see a list of all forms along with basic analytics like views, entries, and conversion rates.
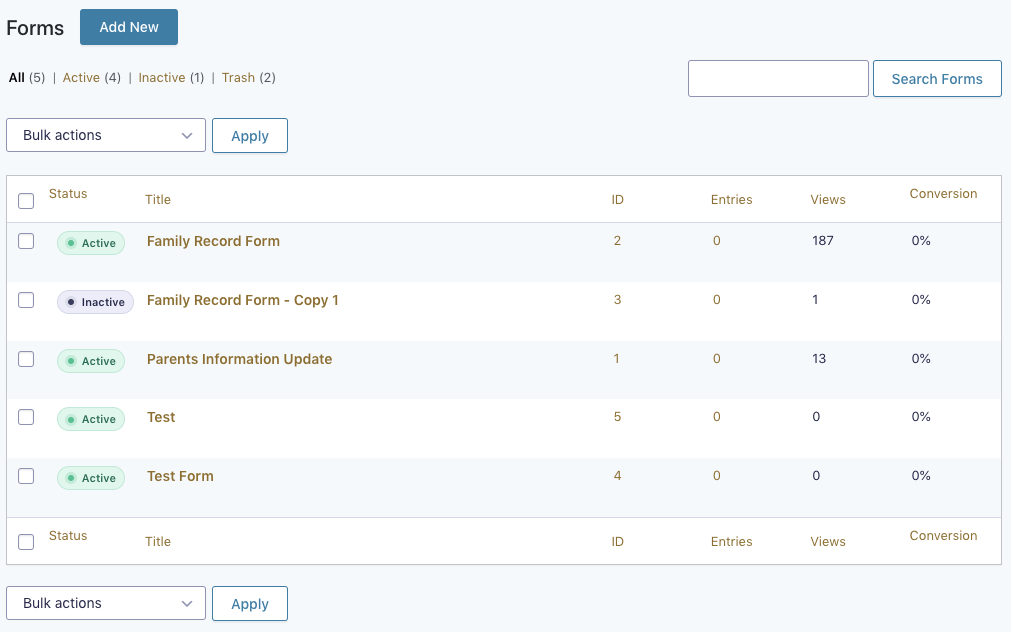
- Status: To the left of the form name is the status icon. By default, all forms are Active. To make a form Inactive, you simply click on the status icon to change the status.
- Form Name: This is the title of the form. It is editable by using the form editor.
- Id: This is the form id number.
- Entries: The number of times a form entry has been created by submitting the form.
- Views: The number of times a form has been viewed.
- Conversion: The conversion ratio is the percentage of users who viewed the form and submitted an entry.
By hovering over a form name in the list, you will be presented with a variety of options.
- Edit: Edit the form using the form editor. Gravity Forms has detailed documentation on each of their available fields.
- Settings: Edit your notifications, form settings and confirmation message.
- Entries: View the entries for this form.
- Preview: Preview the form to see how it will look to the user. This view can also be used to test your form.
- Duplicate: Create a duplicate of this form. Duplication includes all form fields and notification settings.
- Trash: Choosing this option will delete a form and ALL entry data associated with the form.