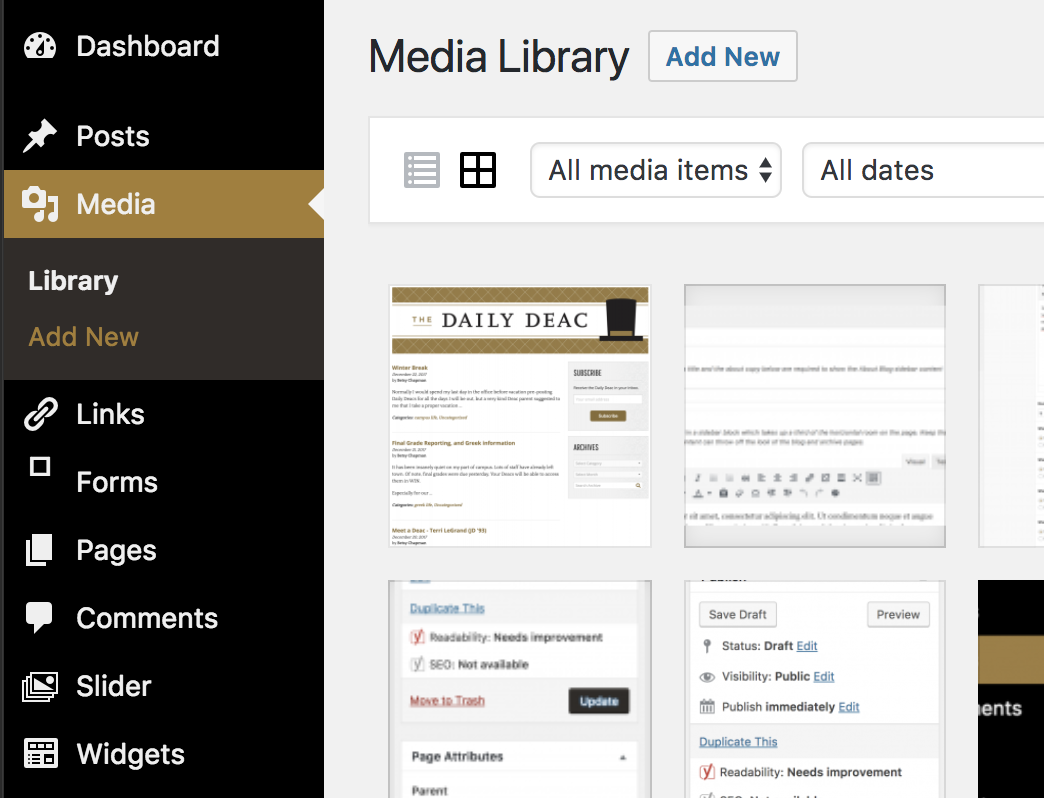
Media Library
You can use the following media types on your site:
- .jpg/.jpeg
- .gif
- .png
- .mp3
- .mp4 (we don’t offer streaming so your video may not play well, a YouTube block is recommended)
- .doc/.docx
- .xls/.xlsx
- .ppt/.pptx
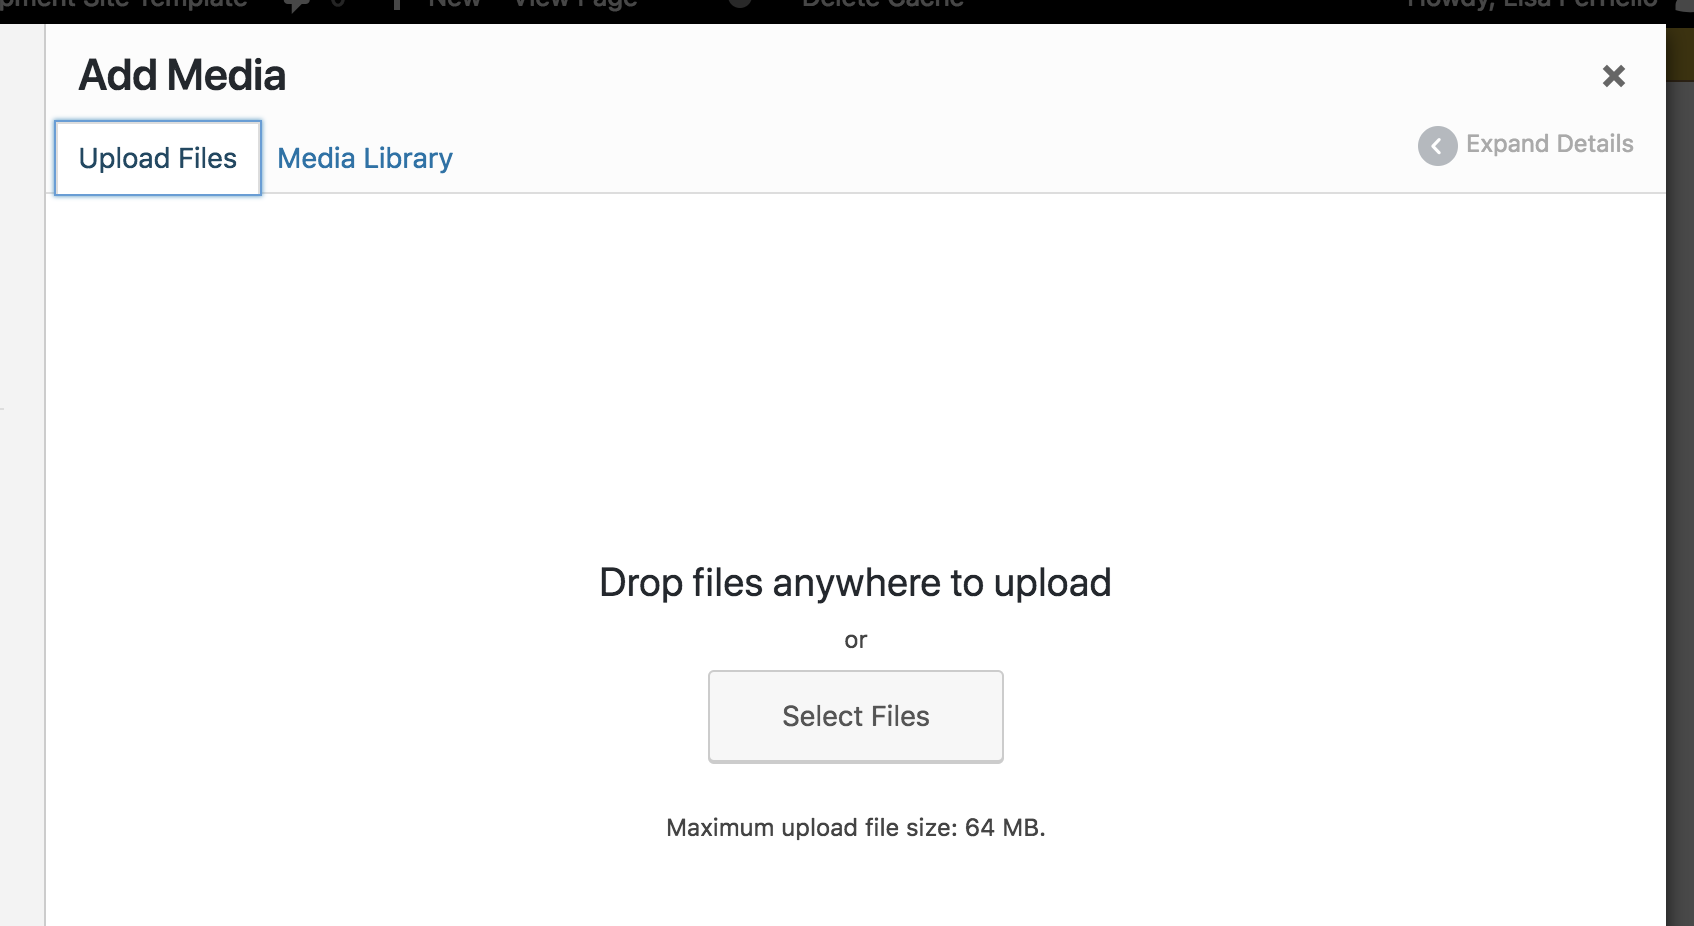
When adding an image to a block, the Media Library popup will give you two tab options. You can choose between Upload Files to add a new file, or Media Library to choose an image that has already been uploaded to your website.
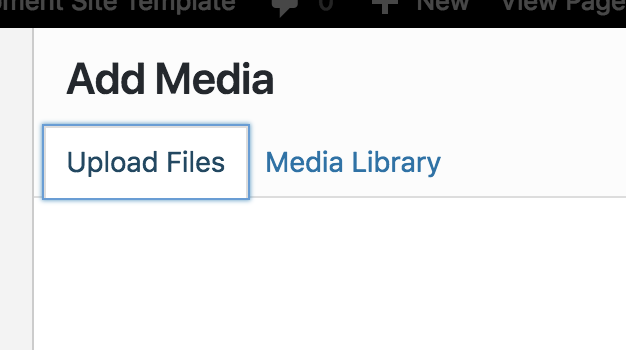
If you’d like to upload a new file, choose the Upload Files tab and you’ll be able to drag and drop your image into the interface. You can also click the Select Files button to find the file on your computer.
If the file you’d like to use already exists on your website, you can choose the Media Library tab and select your image.
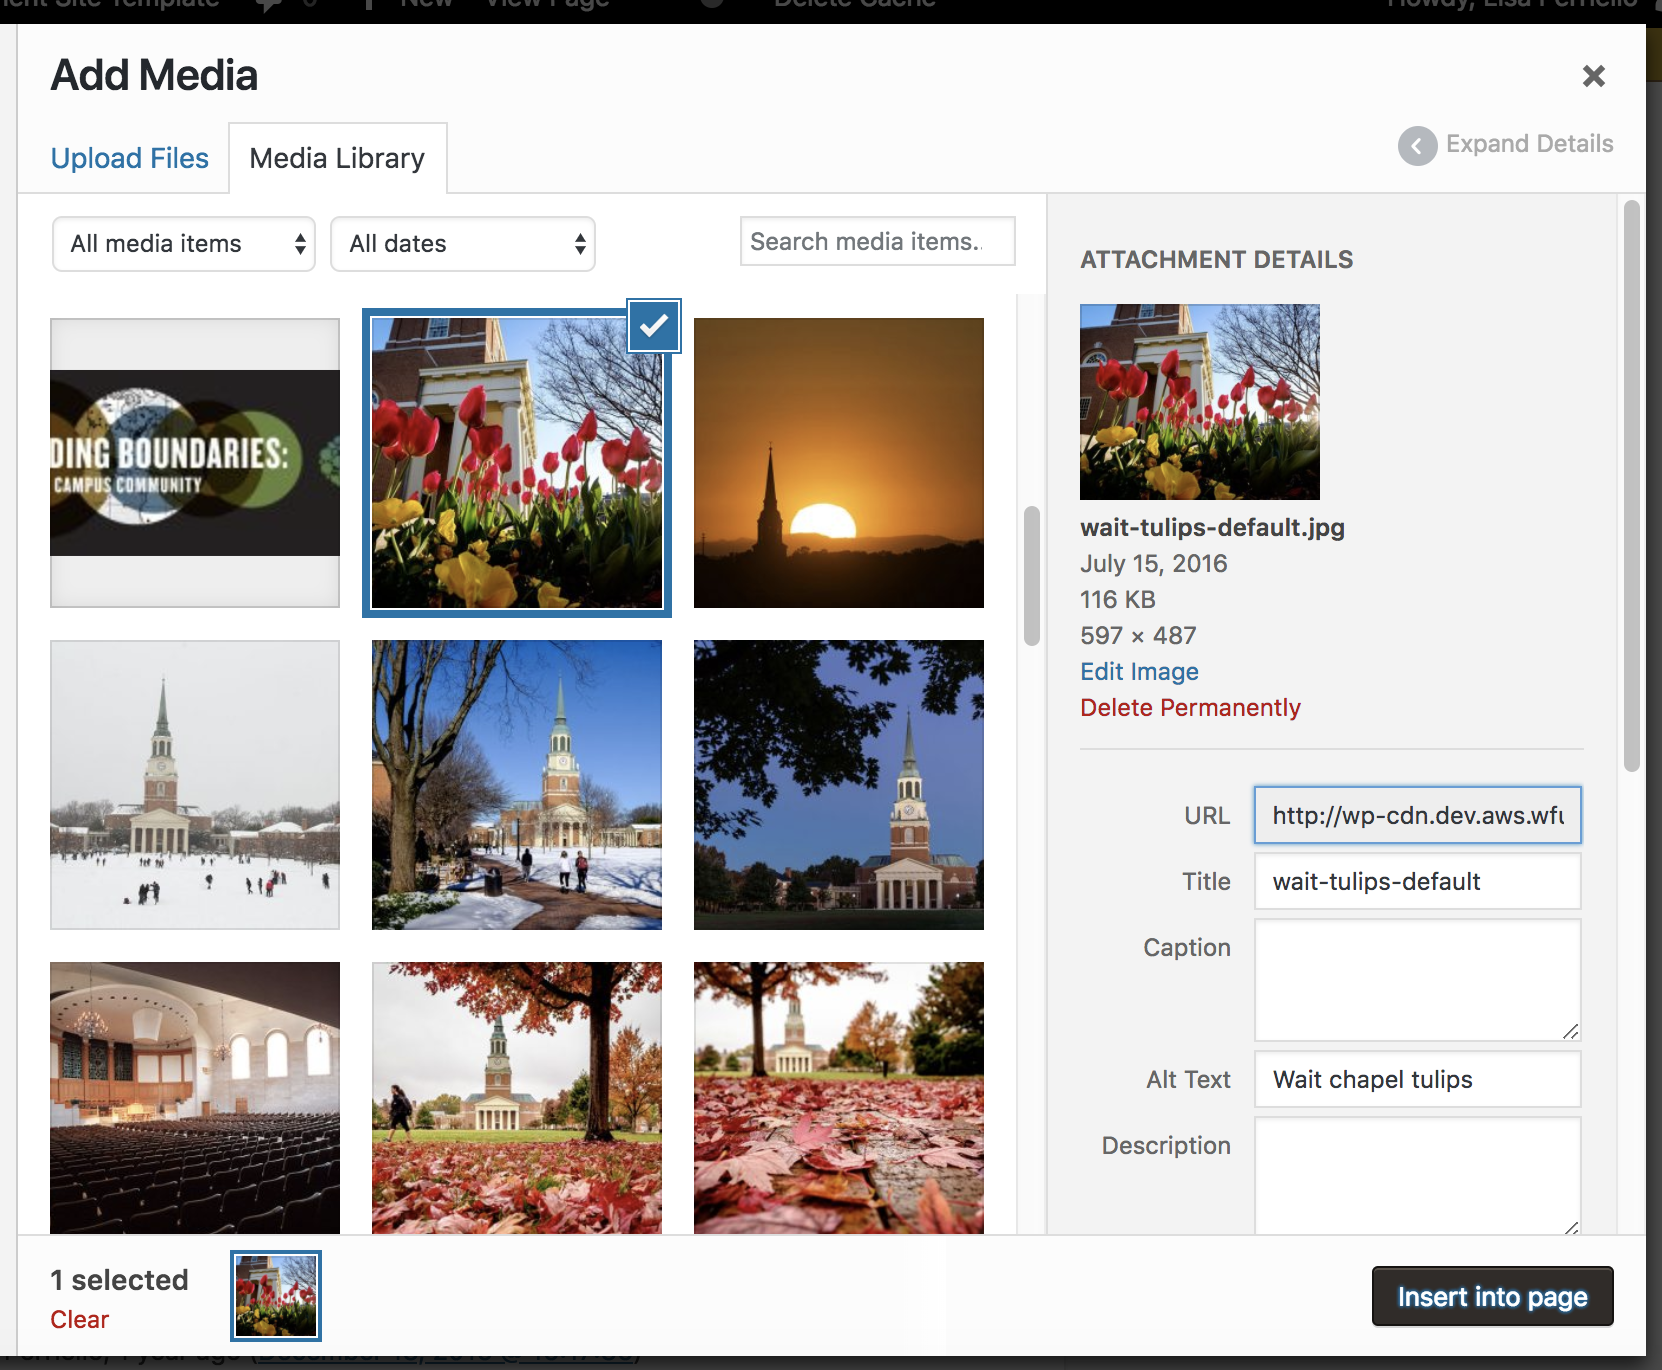
Once you’ve uploaded or selected your file(s), click Insert into page. Deciding if your image needs Alt Text is discussed on our Accessibility page.
Adding multiple images to the Media Library
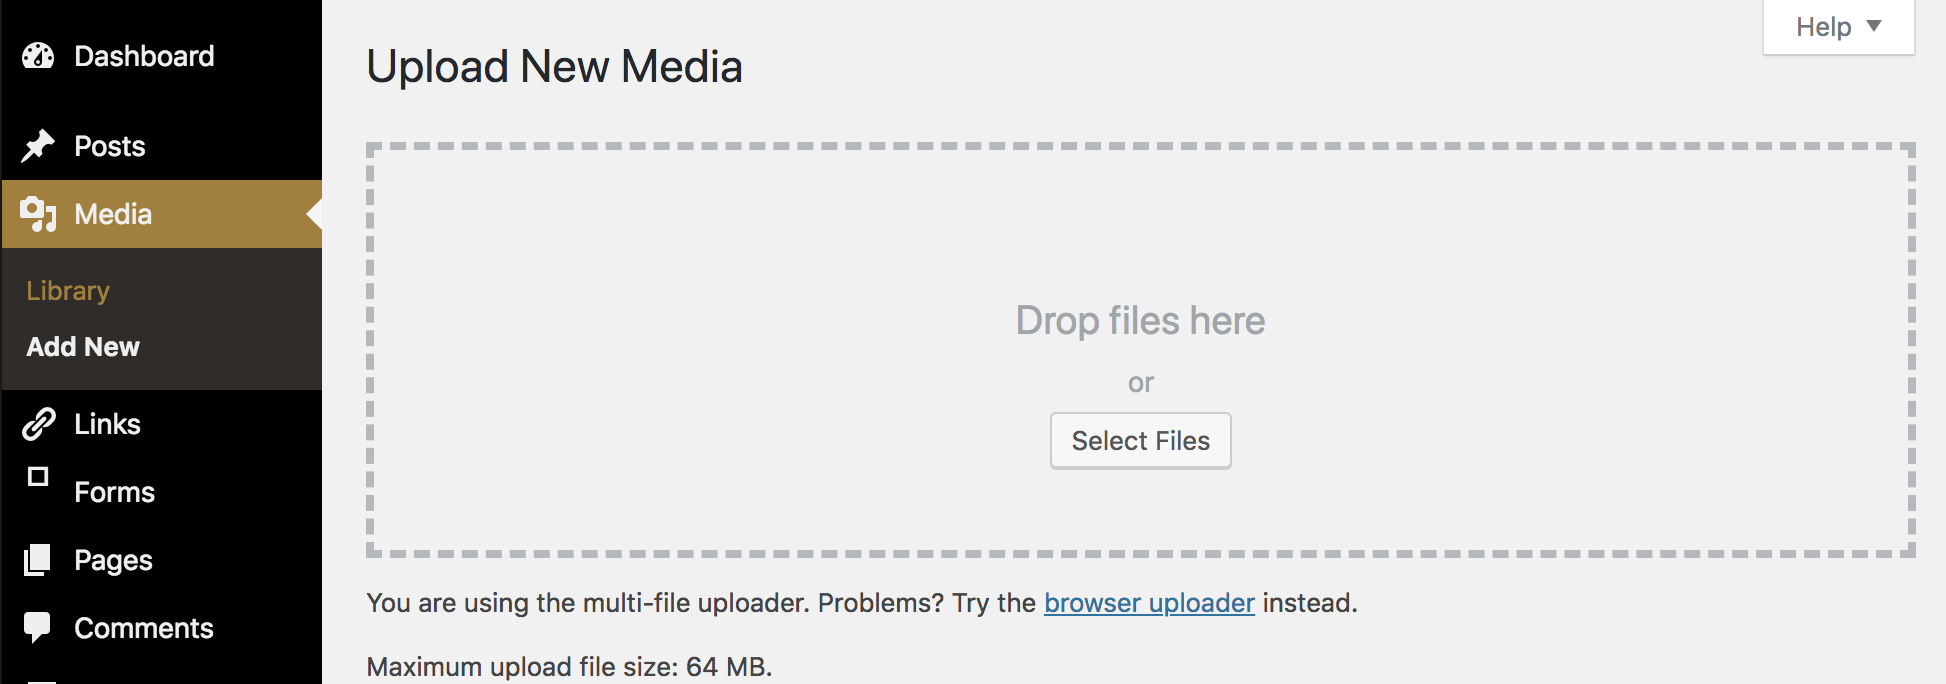
You can also add all of your files at once, directly to your Media Library, before you begin working on your page content. You’ll navigate to Media > Add New in the WordPress dashboard, then drag and drop all your images into the dotted area, or use the Select Files button to locate the files on your computer.
Replacing Media
If you need to update an image or pdf to a newer or recent version, the Enable Media Replace plugin can be activated on your site. This plugin adds a “Replace Media” button to all items in the Media Library. This is especially useful if a piece of media is used on many posts or pages. Replace Media will ensure that all references to that media will be updated with the new file.

Simpler URL
We’ve also heard your desire for a less complex URL for sharing your files. Our AWS cloud hosting provides great benefits but messy links.
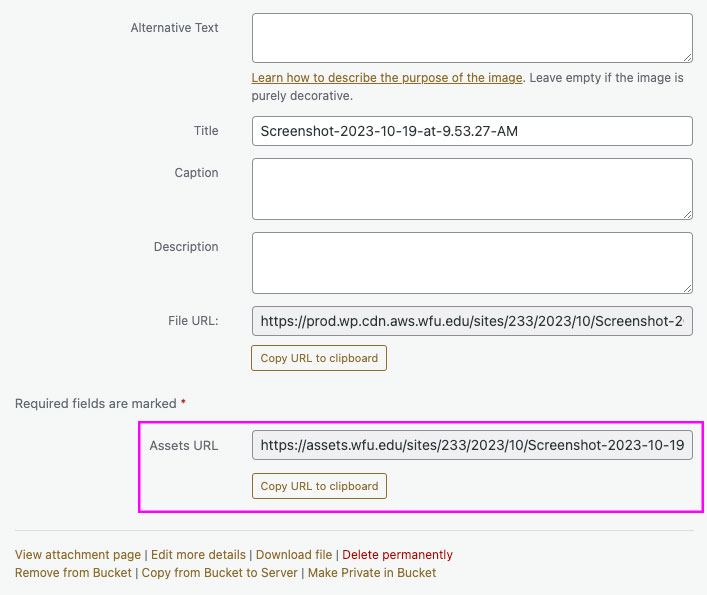
So https://prod.wp.cdn.aws.wfu.edu/2023/08/WFU-ADM-2324Viewbook.pdf becomes https://assets.wfu.edu/2023/08/WFU-ADM-2324Viewbook.pdf
Find this link at the bottom of your file’s details:
