Testimonials Plugin
The Testimonial Slider is an easy way to add sliding testimonials to your website. If you’d like this plugin enabled on your website, use our Web Request Form.
Quick Start Video

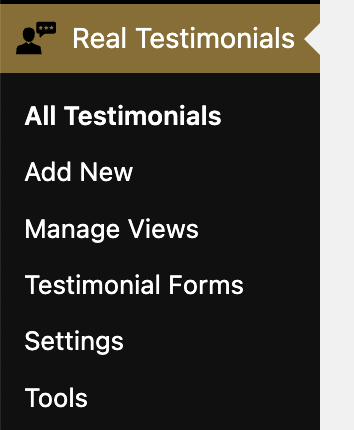
To add a testimonial slider your website, first request that the plugin be enabled. Once the plugin is enabled, you’ll see the Real Testimonials menu item in your dashboard.
Creating a testimonial slider involves first adding testimonials (use Add New) and then creating a View (click Manage Views and then “Add New”). Once you have both of those things, you can go to any WordPress Page or Post and add a Real Testimonial Block.
Once you’ve added the block, select the view from the drop down. At that point a preview of your slider will appear in your editor.

An “edit view” link will also appear on your editor. If you’d like to adjust the view, that link will take you to the View Settings page.
Testimonial Slider Demo
Customizations
In the video demo, I used custom css and custom color. You can copy and paste that information from the toggles below:
.sp-testimonial-client-name { font-size: 22px; font-family: var(--wp--preset--font-family--open-sans);}

.sp-testimonial-free-section .sp-testimonial-client-designation { font-size: 14px; line-height: 16px }

.sp-testimonial-free-section .testimonial-nav-arrow { border: 0 !important; }

.sp-testimonial-content p:first-of-type {
  	background: url(https://prod.wp.cdn.aws.wfu.edu/assets/images/quotes.png) top left no-repeat;
   	color: var(--wp--preset--color--black);
    margin-bottom: 30px;
    margin-top: 25px;
    padding: 10px 15px 0 15px;
Use #8c6d2c instead of the default blue


